AWS Code deploy

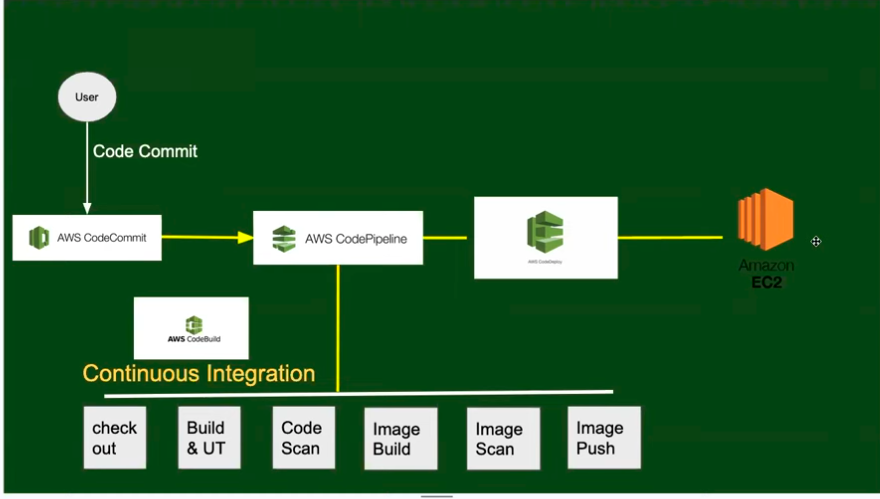
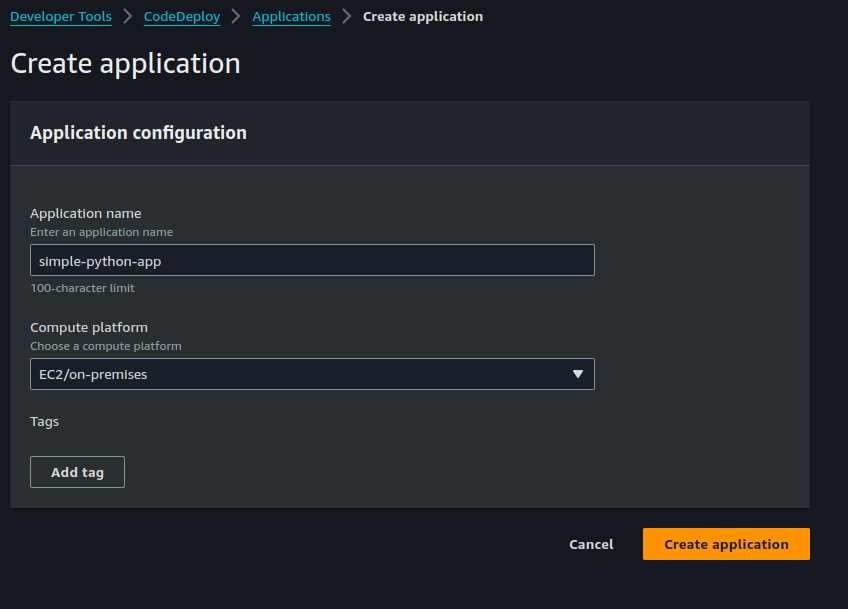
Now create an EC2 instance and give tags here, tags are basically used for Indentifation purpose. This tags play critical role in AWS Devops , code deploy. Infuture if there are 100s of ec2 instace Code deploy will understand to which ec2 we need to deploy the applicatiin
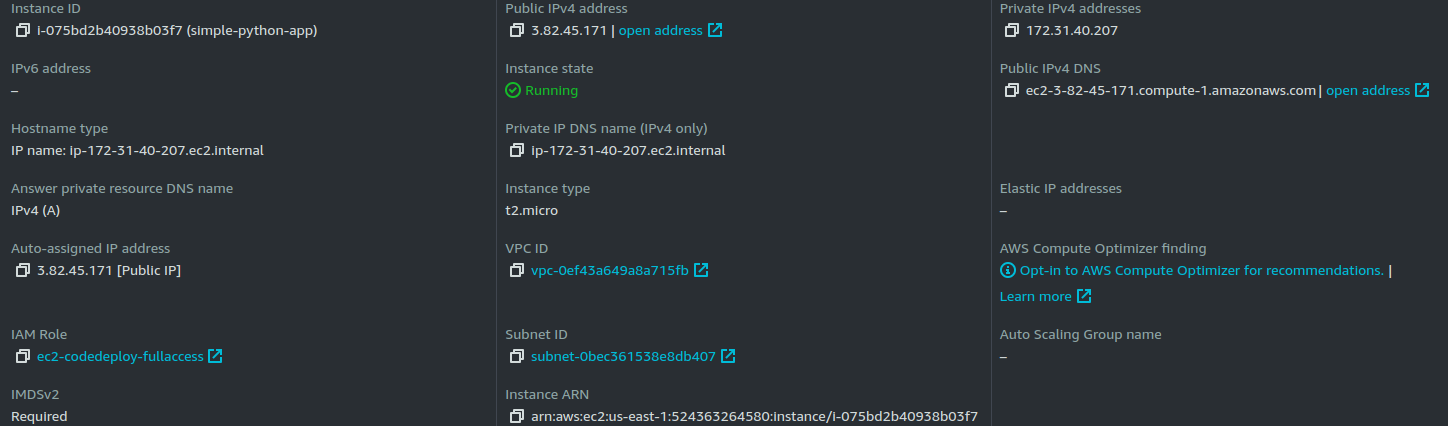
Now in this ec2 we install agent, so this is similar to installing plugins in jenkins or runner in gitlab. So using this agent, code deploy will know where they need to deploy the application. Below it the link to Guide Installation
Steps to Install agent:
sudo apt install ruby-full
sudo apt install wget
wgethttps://aws-codedeploy-us-east-1.s3.us-east-1.amazonaws.com/latest/install
chmod +x ./install
sudo ./install auto
sudo service codedeploy-agent status
Now we need to attach IAM roles with our EC2 below are the steps
IAM -> ROLE- > CREATE ROLE -> Select AWS SERVICE & USE CASE AS EC2 - > NEXT - > ATTACH ROLE "CODEDEPLOYFULLACCESS" and EC2-FULL ACCESS
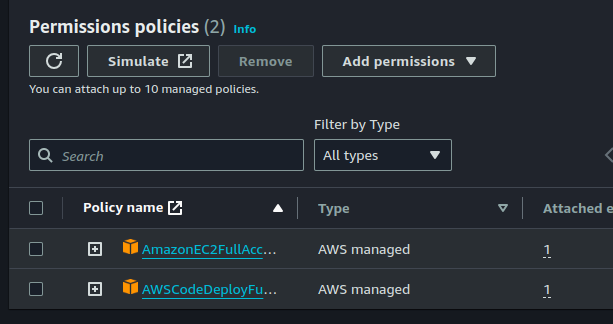
Apart from adding the role, also make changes in Trust Relationship
{ "Version": "2012-10-17", "Statement": [ { "Effect": "Allow", "Principal": { "Service": "codedeploy.amazonaws.com" }, "Action": "sts:AssumeRole" } ] }
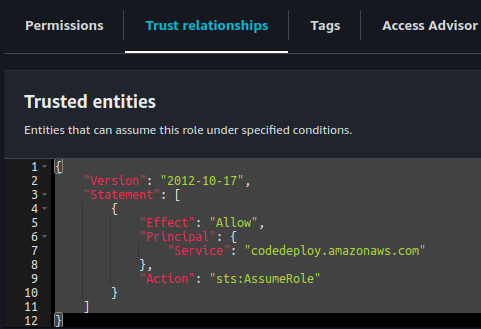
Then go to EC2 and then ACTION -> SECURITY -> MODIFY IAM
Attach the role and restart the codedeploy service in ec2
sudo service codedeploy-agent restart
sudo service codedeploy-agent status
Again go back to CodeDeploy Page.
1 ) Now in Code Deploy we need to provide where is the target group , this means we are giving ec2 instance as an agent. This is similar task in Load Balacer
- Give the service role that you created just now
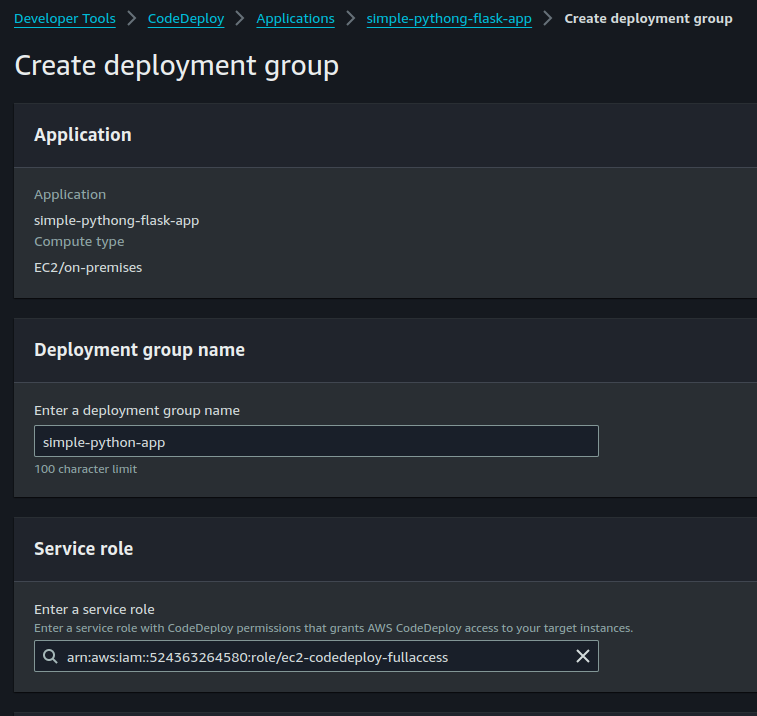
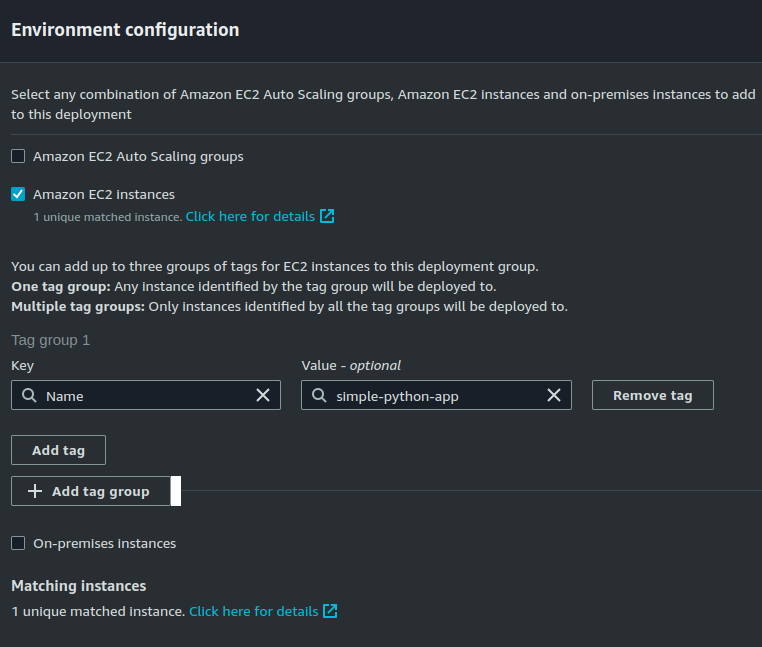
In above it retrived the name of ec2 automatically because of tags. Just keep everything default we are just doing codedeplo.
Finally click on Create Deployment.
So till now we have made connection and told that we have our group where applcaiton is to be deployed. Yet we need to do "How app to be deployed"
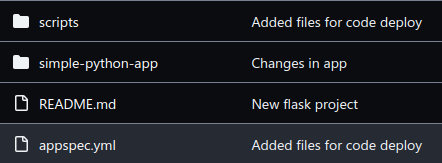
During Build stage we used buildspec.yml. Noe during deployment we will use another file called as appspec.yml and this flle should be at the root of you git, where you Source code is saved. This is the last step
Go to Create Deployment - > Give name of Deployment - > Select Repo as Github
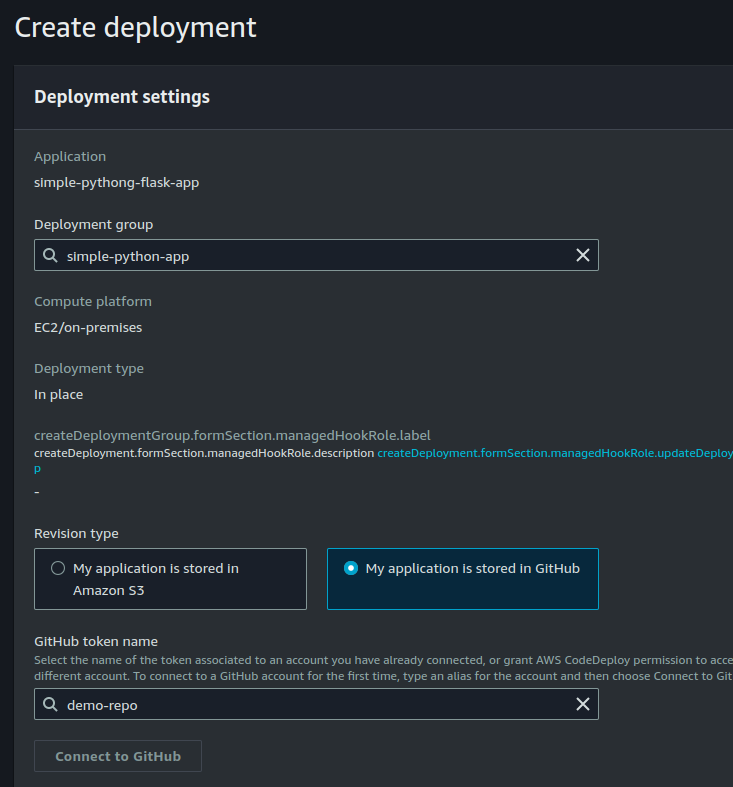
Then it will ask for the Token name for Githib, give it a name and you see the "Connect to Github" will activate , once you click on that a pop-up for OAuth will open to give authinticate the repo
Then give the name of repo. and commit-ID . As we not doing complete CICD for now we are just checking our Deployment, so it requires the Commit ID. When we will do the complete CICD it will automatically fetch the Commit ID.
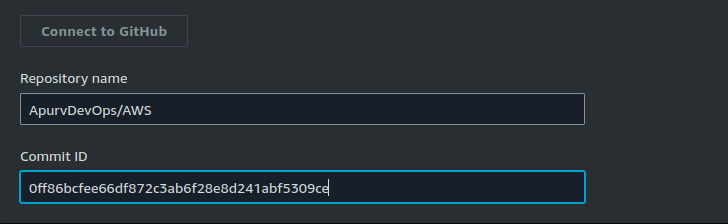
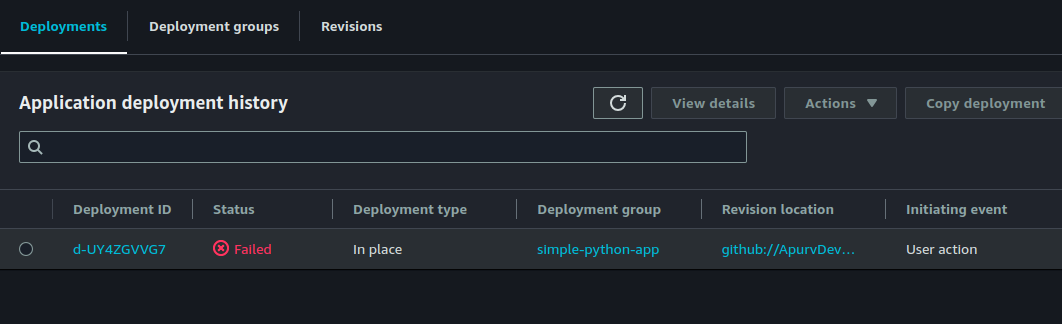
And just click on Create Deployment. Once your deployment creation is finished, we will see that if gets Failed. As Its is looking for appspec.yml file in root of our project in Github, once we provide it we can see it will be running to success.
Code Pipeline
Go to Code Pipeline - > Edit -> Add Stage - > Name "Code-deploy" - > Edit Action
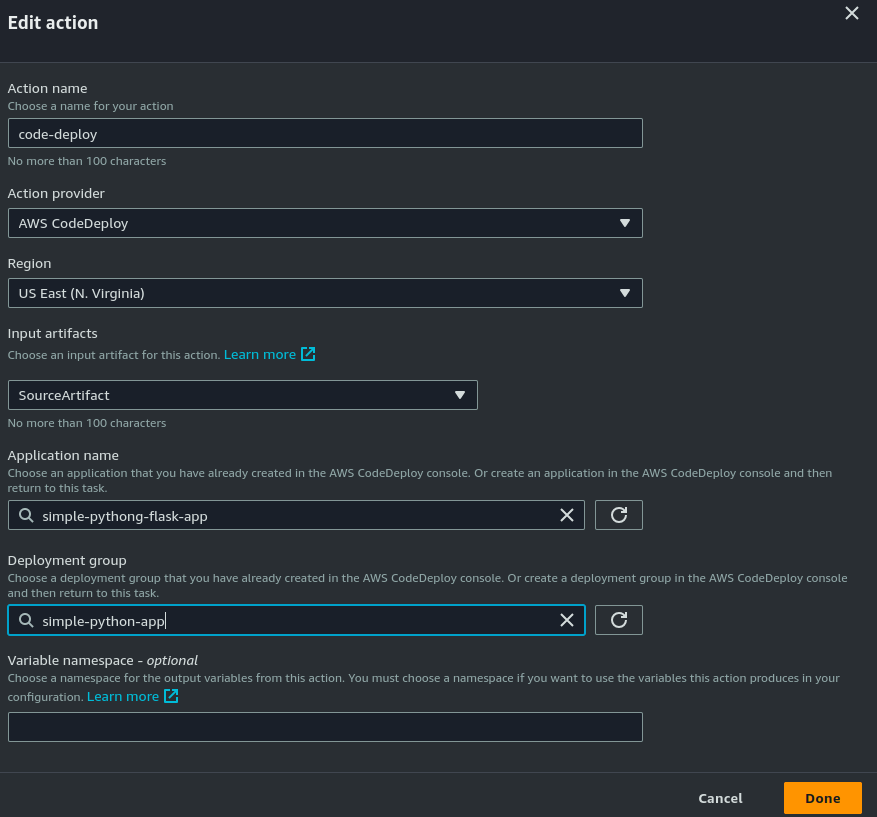
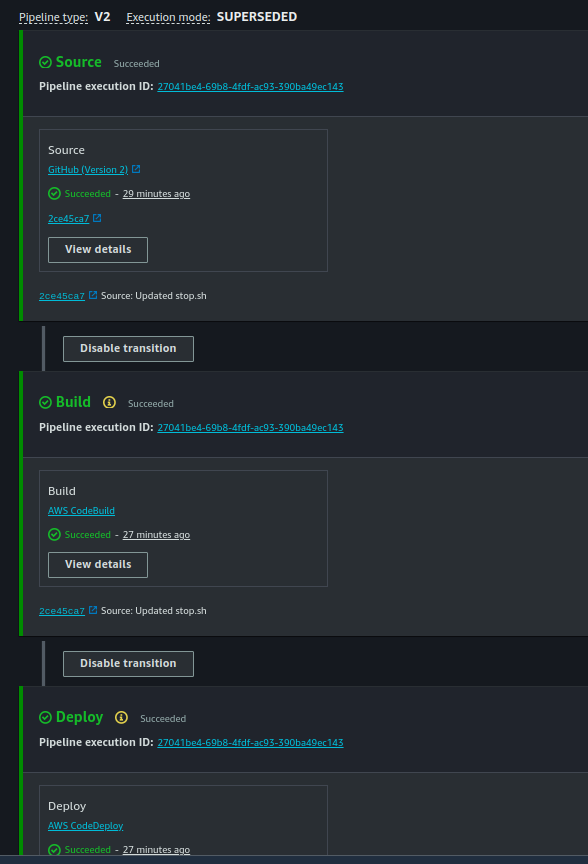
successful completion of codepipeline will look like
After the single stage deployment is done now we can create a complete pipeline using code pipleline
Issue that I faced in this was with IAM roles. We need to make changes in Roles and policies as per the error we received specifically on s3
Below is the code that i added in s3 policies files
	{
			"Effect": "Allow",
			"Principal": "*",
			"Action": "s3:*",
			"Resource": [
				"arn:aws:s3:::<Bucket Name>",
				"arn:aws:s3:::<Bucket Name>/*"
			]
		}


