


Jenkins Agents
Jenkins Master (Server)
🧑💼 Jenkins’s server or master node holds all key configurations. Jenkins master server is like a control server that orchestrates all the workflow defined in the pipelines. For example, scheduling a job, monitoring the jobs, etc.
Jenkins Agent ( Slave)
🧑💼 An agent is typically a machine or container that connects to a Jenkins master and this agent that actually execute all the steps mentioned in a Job. When you create a Jenkins job, you have to assign an agent to it. Every agent has a label as a unique identifier.
When you trigger a Jenkins job from the master, the actual execution happens on the agent node that is configured in the job.
A single, monolithic Jenkins installation can work great for a small team with a relatively small number of projects. As your needs grow, however, it often becomes necessary to scale up. Jenkins provides a way to do this called “master to agent connection.” Instead of serving the Jenkins UI and running build jobs all on a single system, you can provide Jenkins with agents to handle the execution of jobs while the master serves the Jenkins UI and acts as a control node.

Pre-requisites
Let’s say we’re starting with a fresh Ubuntu 22.04 Linux installation. To get an agent working make sure
Install Java ( same version as Jenkins master server ) and Docker on it.
Both the Master and Slave should be in Same VPC ID
In case you are running job using Docker, so agent should have Docker and Docker-compose
Dashboards->Nodes-New Nodes
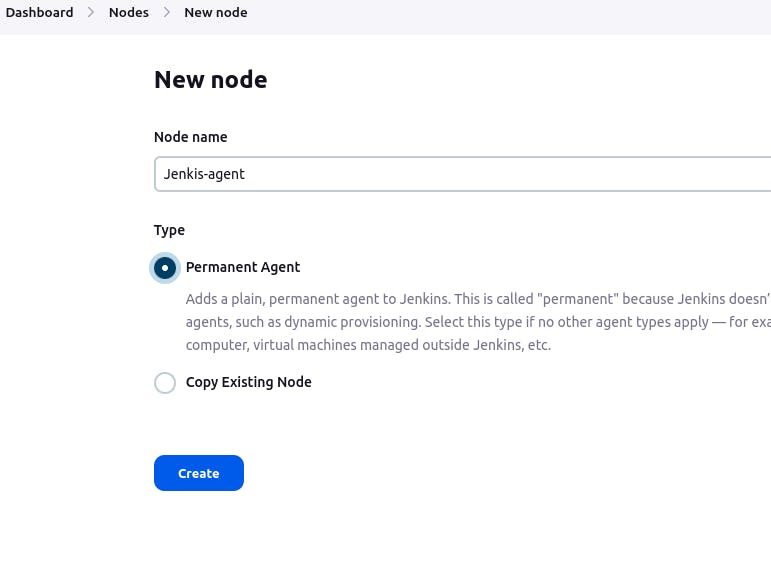
Label: Whatever you are mentioning the name of Label this will be used in out Jenkins pipeline so keep a note of it.
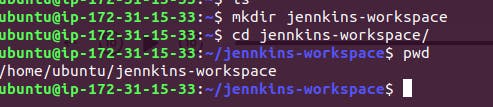
Remote root Directory, will be the path of Directory in Master server, where project will be stored

Host: Will be your Jenkins agent public IP address
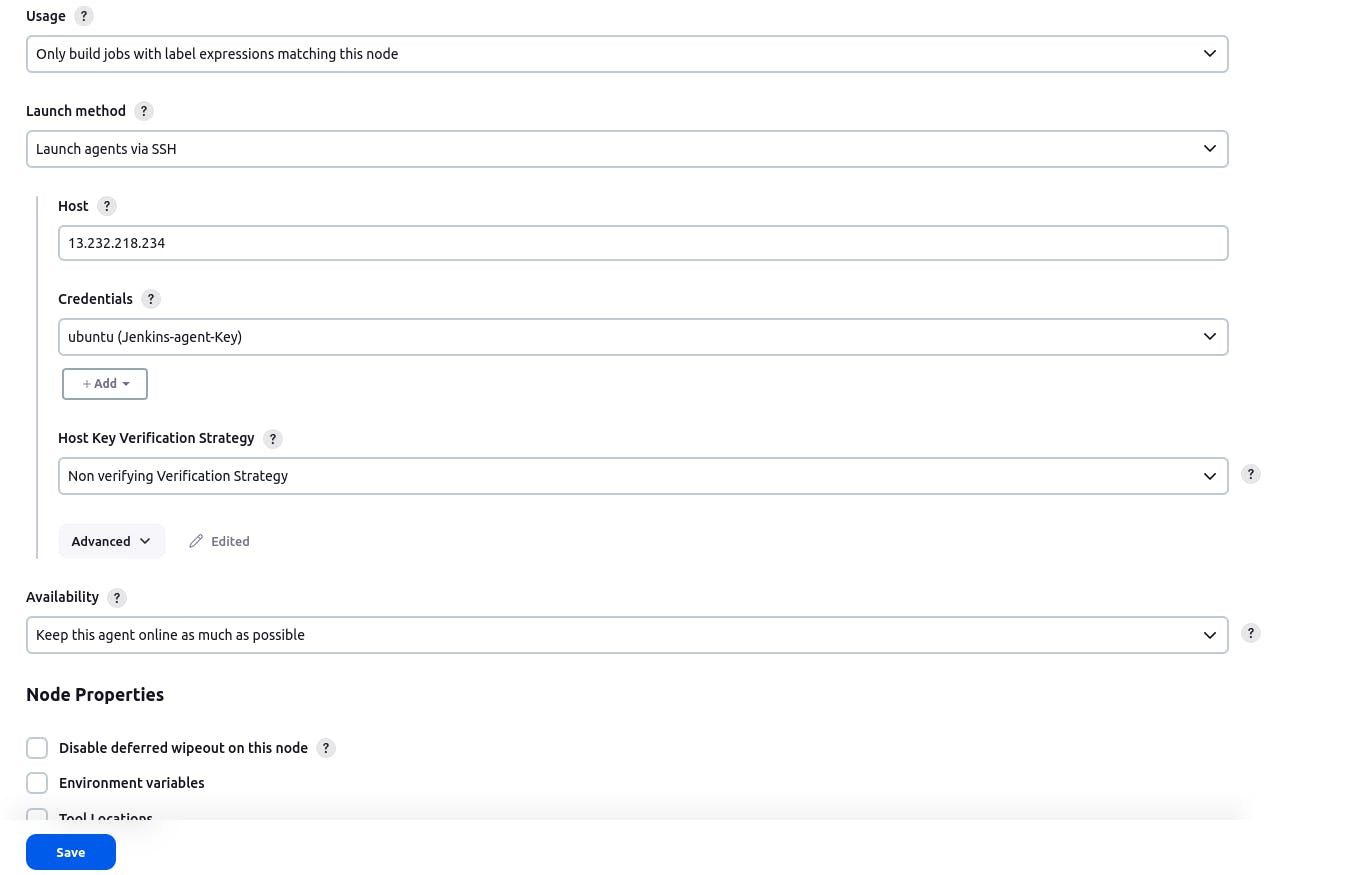
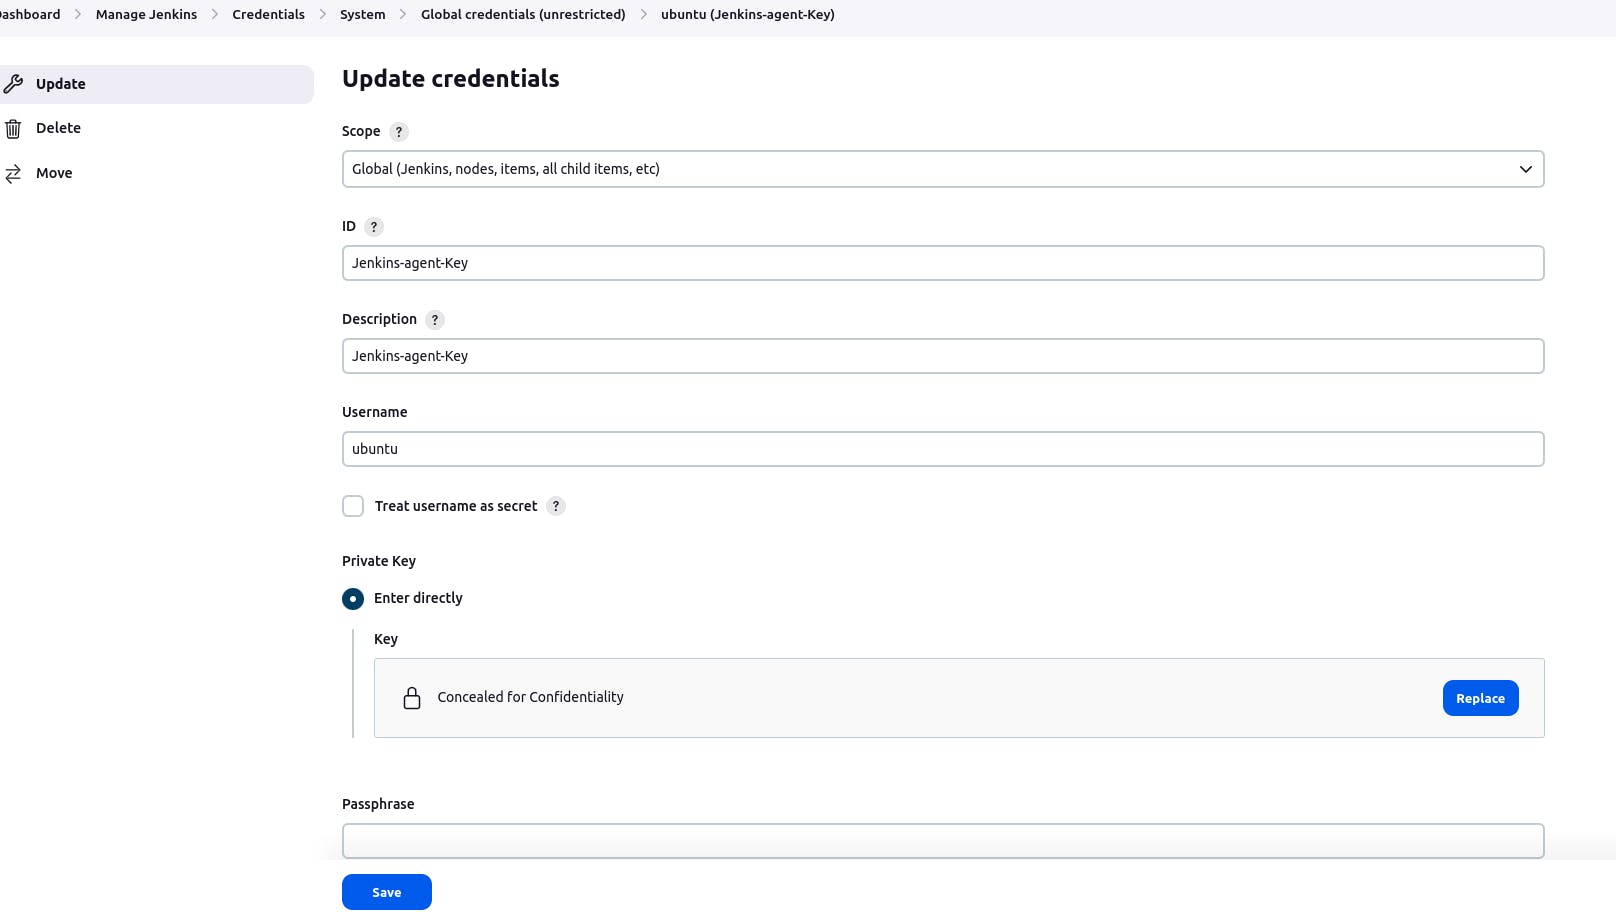
We will create a Credentials, where the key that we are giving her will be Public key, that was created using ssh-keygen command. We will paste that public key here.
Once above setup is done, we must go to nodes and Click on Launch Agent or Relaunch agent (if you are restarting your server again, then it will show to relaunch agent)
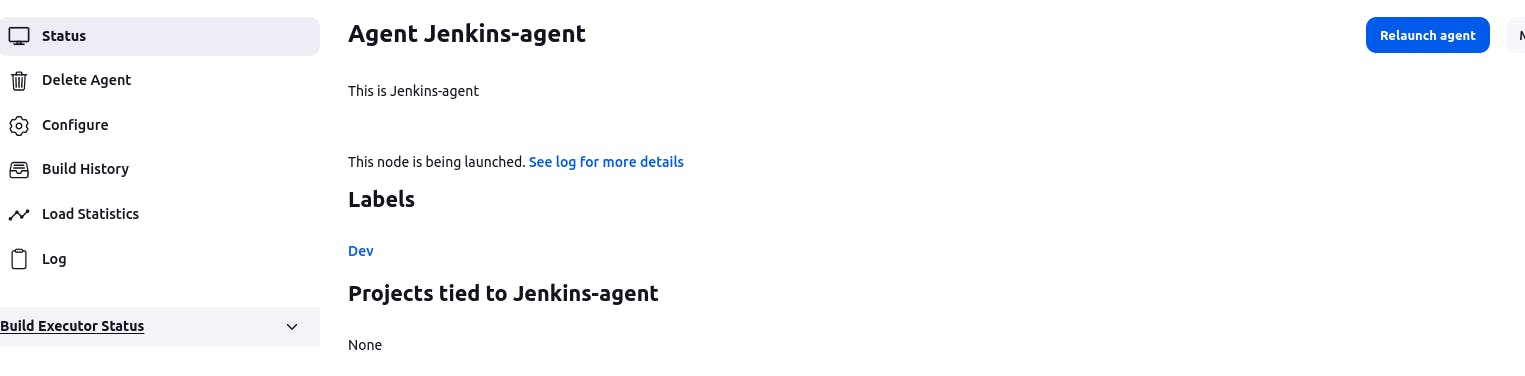
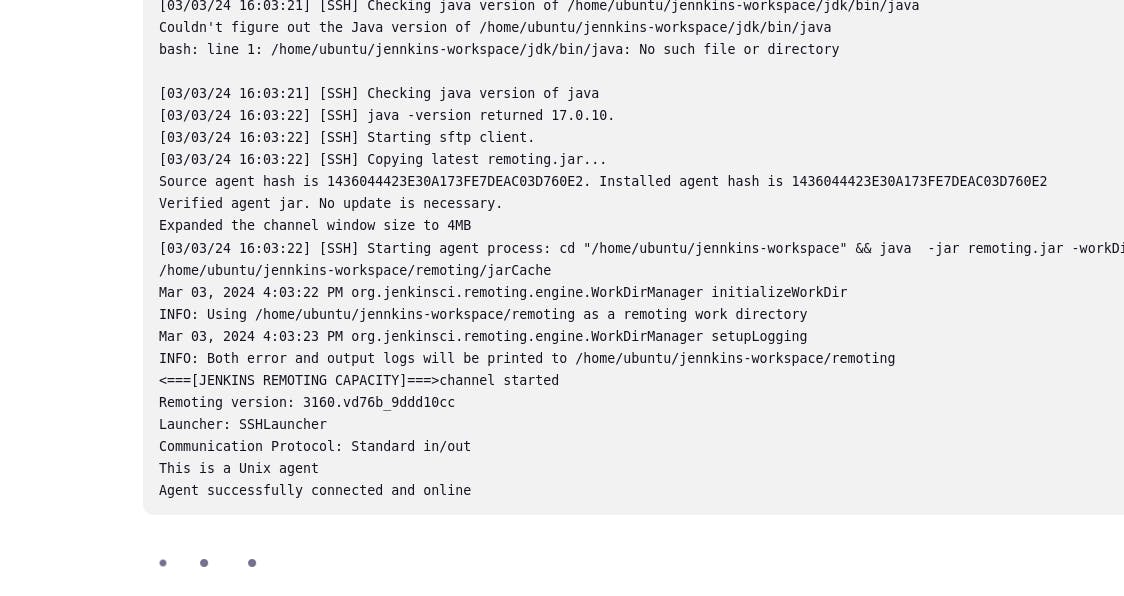
And once your agent configuration is successful , you will see below output
And once you are done we need to give the agent name in which agent should the pipeline will execute.

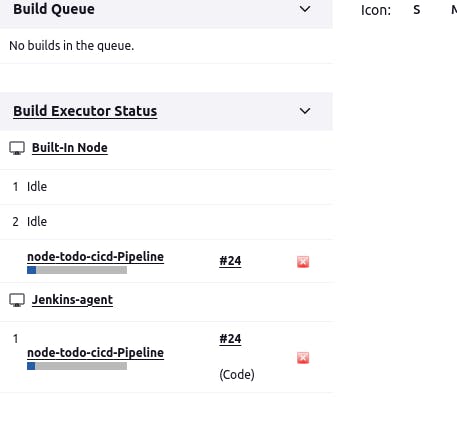
As we can now see the job is now running on Jenkins-agent
Web-Hooks
In above example we have have created a pipeline, where we have written the code in that pipeline, In case if the Sever is crashed then the code will go away, so we need a backup or strategy . That's where WEB-HOOKS come into picture.
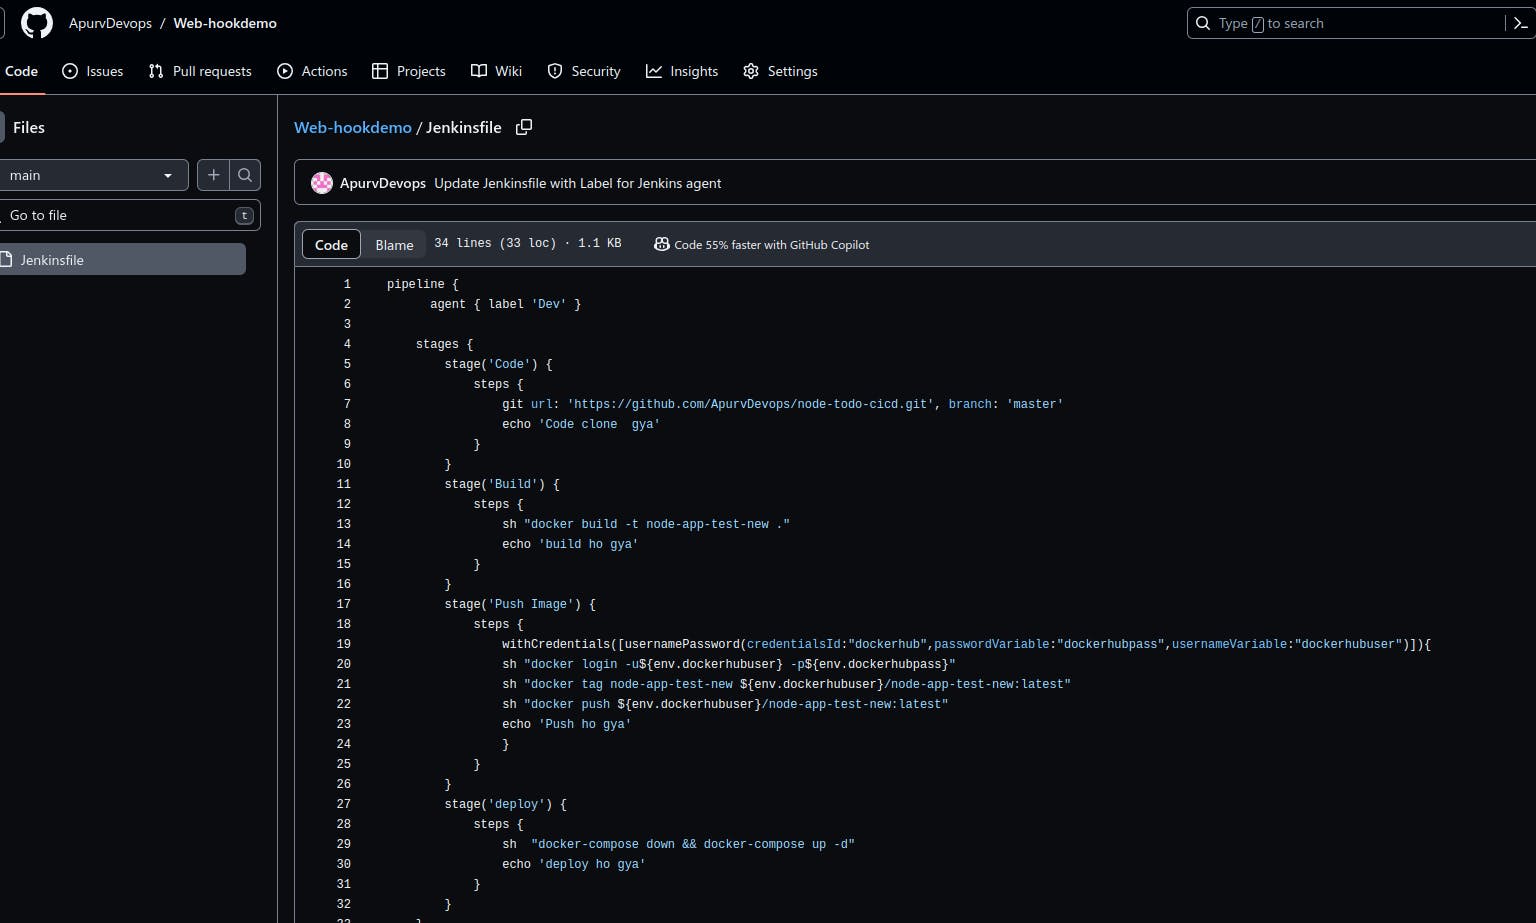
So this is basically, you create a Jenkins File and store it in GitHub Repo. And create a link between your Jenkins job and Jenkins file that is stored in GitHub repo
And when ever any change is happened in Jenkins File , pipeline gets triggered and the job starts running, And Obviously, you can control the behaviour of triggering the pipeline
Steps to setup the Web hook
- First we need to setup a repo, with the Jenkins file and the stage in it as required
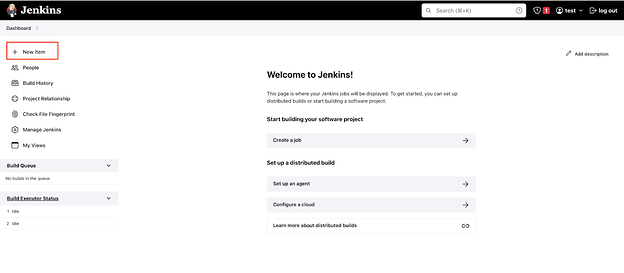
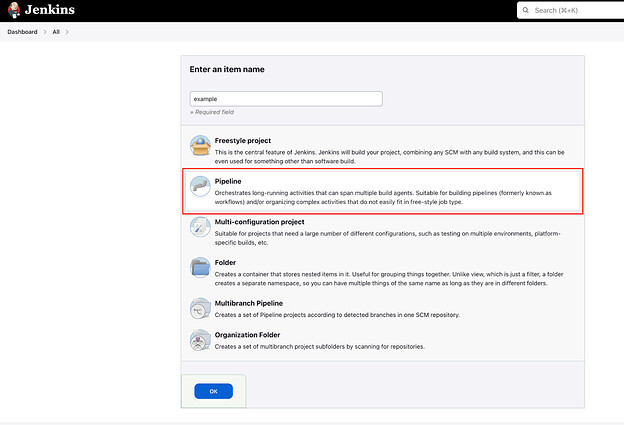
- Create Jenkins Pipeline job with this GitHub repo
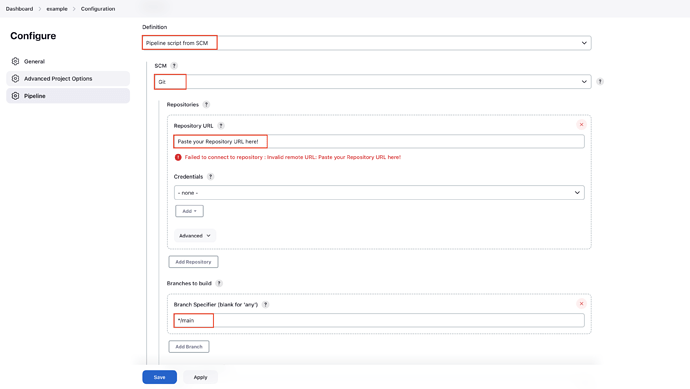
Under Pipeline > Definition, choose Pipeline script from SCM, then choose Git and paste the link source code git . Next, update Branch Specifier from master to main which is the default branch of GitHub.
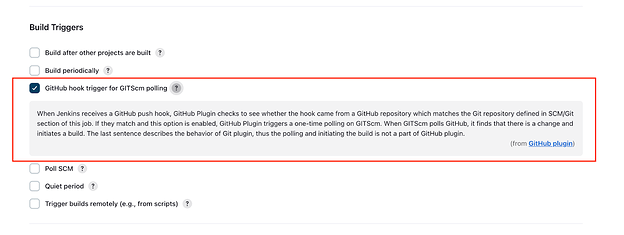
Click to checkbox GitHub hook trigger for GITScm polling under Build Triggers.
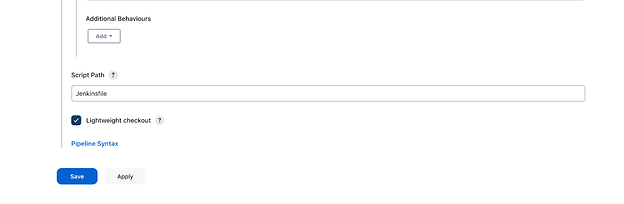
That’s all, now you can scroll down and click the Save button.
In my experience, whenever we have just configured a new Jenkins job, we should try to build this job manually to ensure our actions will work as expected.
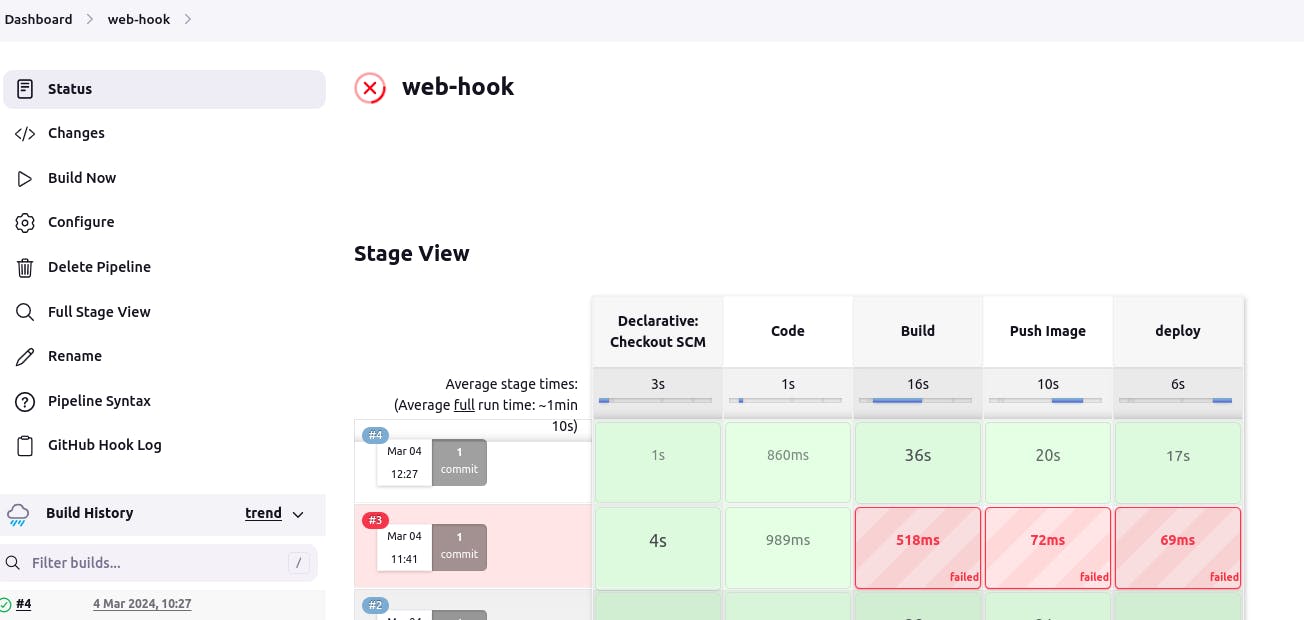
So we click Build Now to start executing Jenkins-file.
- Configure web-hook GitHub for triggering Jenkins job
We can see the pipeline is built successfully. So now, we can set up the GitHub web hook to trigger Jenkins whenever developers push the new code.
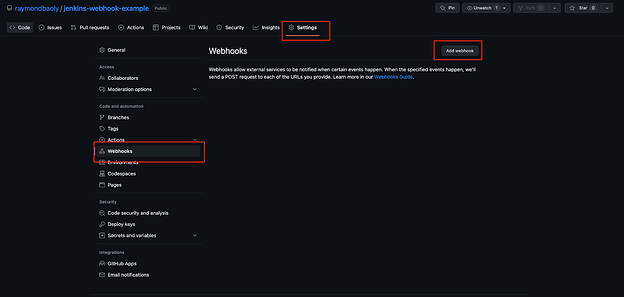
From the GitHub repository, which we have just created above, click on Settings > Web-hooks > Add Webhook.
Under Payload URL, input your Jenkins URL/github-webhook/ and click Add webhook button.
**After URL we need to write git-hub-web-hook, because we want the git to know that we are using web-hook to poll and then trigger the pipeline, we have already mention the git-hub repo, while configuring, so no need to give that again**
An Example of Payload URL: http://localhost:8080/github-webhook/

Even you can see for which event you may want to trigger the web-hook. Its the option "Let me select individual events"
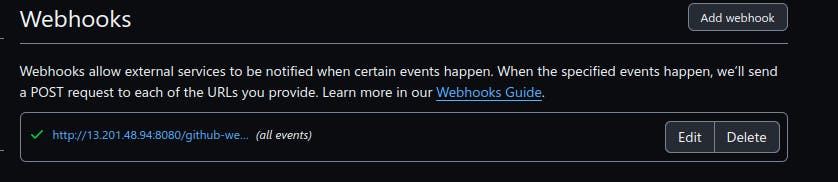
Once added , you can now wait it to be Green Tick after adding the web-hook, as shown below
Now you can try making any changes in Jenkins-file or add a README file that will also work and the pipeline will get triggered.
Thank you for reading this Blog. Hope you learned something new today! If you found this blog helpful, please like, share, and follow me for more blog posts like this in the future😊😊